You do not need a live website to send and receive emails with your own domain. A website and business email are separate services. Your domain is the part that matters because it appears after the @ sign in your email address.
This guide explains how to create a business email without a website in simple steps. It also explains which DNS records you need, how to avoid common mistakes, and how to make your professional email more secure.
What Is a Business Email?
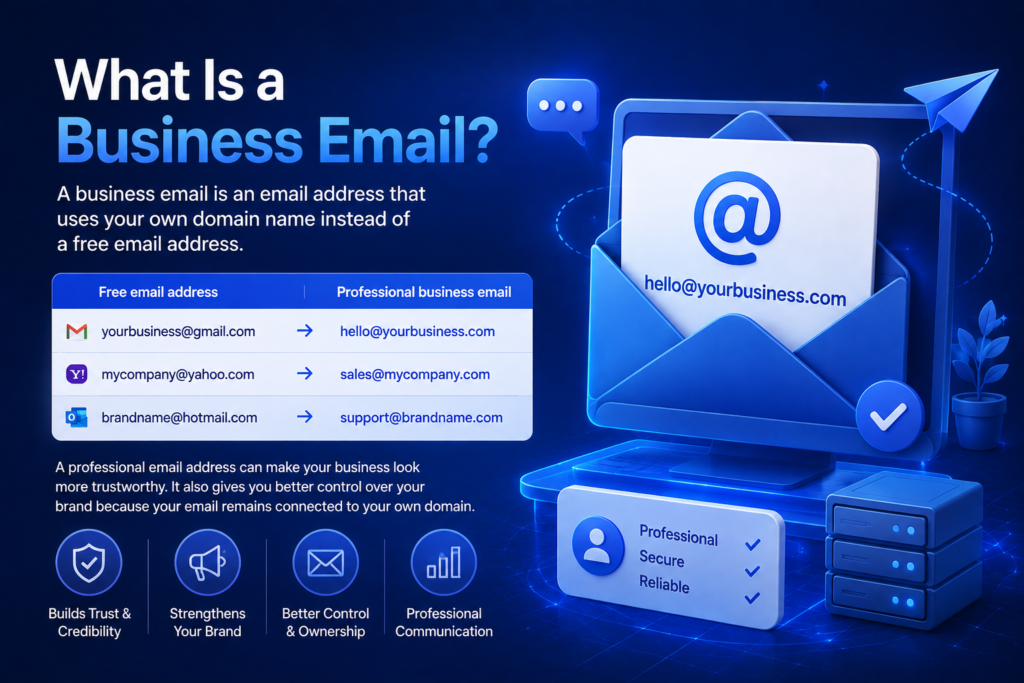
A business email is an email address that uses your own domain name instead of a free email address.
For example:
Free email address
Professional business email
yourbusiness@gmail.com
hello@yourbusiness.com
mycompany@yahoo.com
sales@mycompany.com
brandname@hotmail.com
support@brandname.com
A professional email address can make your business look more trustworthy. It also gives you better control over your brand because your email remains connected to your own domain.
Google Workspace describes a custom business email as an email address that uses your company’s domain, such as name@yourcompany.com
Do You Need a Website for Business Email?
o. You can create a business email without a website.
You only need these three things:
A registered domain name, such as yourbusiness.com.
An email hosting provider.
Access to your domain’s DNS settings.
A website hosting plan is not required if you only want email. However, some web hosting plans include email accounts, so using one provider for your domain, hosting, and email can make management easier.
For example, if you register your domain through GenShift and use an email-enabled hosting plan, you may be able to manage your domain, website hosting, and professional email from one account.
What You Need Before You Start
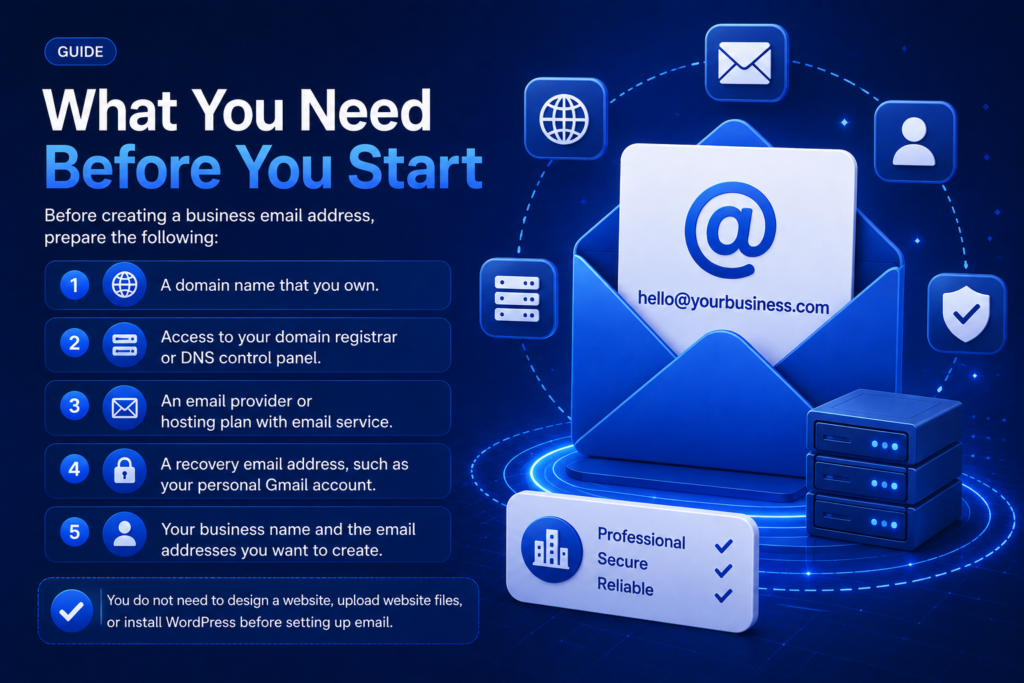
Before creating a business email address, prepare the following:
A domain name that you own.
Access to your domain registrar or DNS control panel.
An email provider or hosting plan with email service.
A recovery email address, such as your personal Gmail account.
Your business name and the email addresses you want to create.
You do not need to design a website, upload website files, or install WordPress before setting up email.
How to Create a Business Email Without a Website
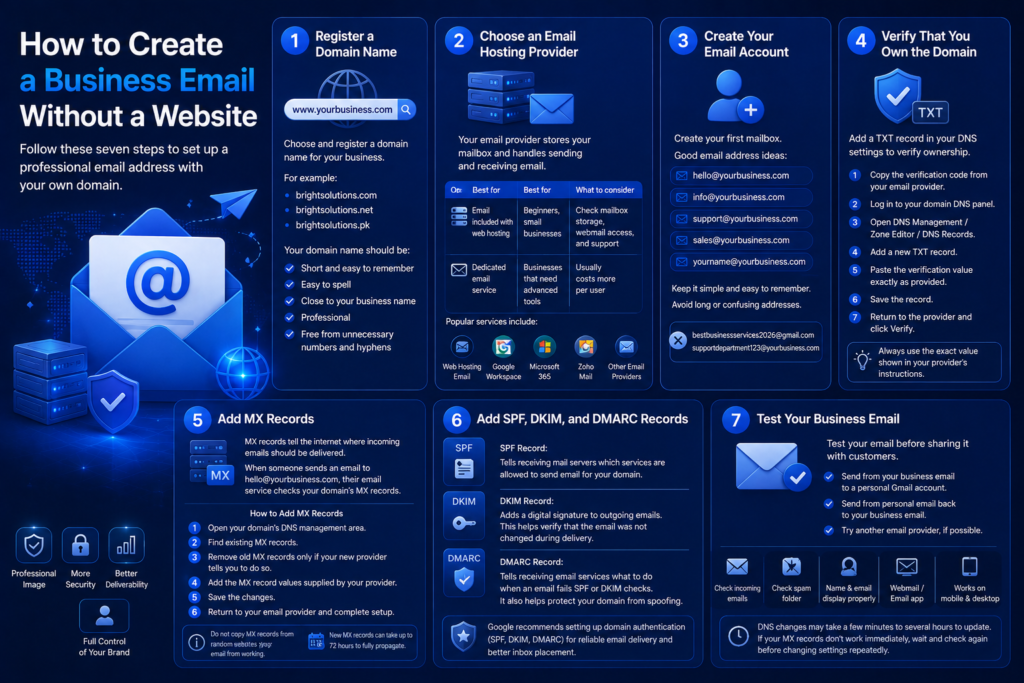
Follow these seven steps to set up a professional email address with your own domain.
Step 1: Register a Domain Name
First, choose and register a domain name for your business.
For example, if your business is called Bright Solutions, you may choose:
brightsolutions.com
brightsolutions.netbrightsolutions.pk
Try to choose a name that is:
Short and easy to remember.
Easy to spell.
Close to your business name.
Professional.
Free from unnecessary numbers and hyphens.
If you do not have a domain yet, you can register one through GenShift’s domain registration service. You can also read our guide on how to check if a domain name is available before making a final choice.
Step 2: Choose an Email Hosting Provider
Your email provider stores your mailbox and handles sending and receiving email.
You have two common options:
Option
Best for
What to consider
Email included with web hosting
Beginners, small businesses, and users who want one control panel
Check mailbox storage, webmail access, and support
Dedicated email service
Businesses that need advanced collaboration and email tools
Usually costs more per user
Common email services include:
Email included with a hosting plan.
Google Workspace.
Microsoft 365.
Zoho Mail.
Other dedicated business-email providers.
Choose the provider that matches your budget, storage needs, number of users, and support requirements.
If you only need one or a few professional email accounts, an email-enabled hosting plan can be a simple option. If you need large storage, team calendars, video meetings, and collaboration tools, a dedicated email platform may be more suitable.
Step 3: Create Your Email Account
After choosing your provider, create your first mailbox.
Good email address ideas include:
hello@yourbusiness.com
info@yourbusiness.com
support@yourbusiness.com
sales@yourbusiness.com
yourname@yourbusiness.com
For most small businesses, hello@ or info@ is a good first address. If you work with customers, adding support@ can make your business look more organised.
Avoid creating long or confusing addresses such as:
Keep the address simple so customers can type it correctly.
Step 4: Verify That You Own the Domain
Most email providers ask you to verify that you own the domain before activating email.
Verification usually requires adding a TXT record in your DNS settings.
A TXT record is a small piece of text added to your domain’s DNS zone. It proves that you control the domain.
The usual process is:
Copy the verification code from your email provider.
Log in to the company where your domain DNS is managed.
Open DNS Management, Zone Editor, or DNS Records.
Add a new TXT record.
Paste the verification value exactly as provided.
Save the record.
Return to the email provider and click Verify.
Every provider gives different TXT values. Always use the exact value shown in your provider’s setup instructions.
Step 5: Add MX Records
MX records are the most important DNS records for email. They tell the internet where incoming emails should be delivered.
When someone sends an email to:
hello@yourbusiness.com
the sender’s email service checks your domain’s MX records to find your email provider.
How to Add MX Records
Open your domain’s DNS management area.
Find existing MX records.
Remove old MX records only if your new email provider tells you to do so.
Add the MX record values supplied by your email provider.
Save the changes.
Return to your email provider and complete setup.
Do not copy MX records from random websites. MX values are different for different email services, and the wrong records can stop your email from working.
For example, Google Workspace instructs users to add the MX record value supplied in its admin setup, then activate Gmail after the DNS record is saved. Google notes that recognition of a new MX record can take up to 72 hours in some cases.
Step 6: Add SPF, DKIM, and DMARC Records
SPF Record:
SPF tells receiving mail servers which services are allowed to send email for your domain.
For example, if you use one email provider, your SPF record helps show that the provider is allowed to send messages from your business email address.
DKIM Record:
DKIM adds a digital signature to outgoing emails. This helps receiving servers verify that the email was not changed during delivery.
DMARC Record:
DMARC tells receiving email services what to do when an email fails SPF or DKIM checks. It also helps protect your domain from spoofing.
Google’s sender guidelines state that DMARC passes when messages are authenticated by SPF or DKIM, and Google recommends setting up domain authentication for reliable email delivery.
Step 7: Test Your Business Email
Once DNS records are added, test your email before sharing it with customers.
Send a test email:
From your new business email to a personal Gmail account.
From a personal email account back to your business email.
To another email provider, if possible.
Check that:
Incoming emails arrive correctly.
Outgoing emails do not go to spam.
Your name and email address display properly.
You can log in through webmail or your email app.
Emails work on mobile and desktop.
DNS changes may take a few minutes to several hours to update. If your MX records do not work immediately, wait and check again before changing settings repeatedly.
Best Business Email Addresses to Create
You do not need to create many accounts at the start. Begin with the addresses that your business will actually use.
Email address
Best use
hello@yourbusiness.com
General customer communication
info@yourbusiness.com
Business information requests
support@yourbusiness.com
Customer support
sales@yourbusiness.com
Sales leads and inquiries
billing@yourbusiness.com
Invoices and payments
yourname@yourbusiness.com
Personal professional communication
If your provider supports email aliases, you may be able to receive mail at several addresses inside one mailbox. Check your provider’s documentation before creating extra mailboxes.
Common Mistakes to Avoid
Using a Personal Email for Your Main Business
A Gmail or Yahoo address is fine for personal use, but a custom email address looks more professional for a business.
Use:
hello@yourbusiness.com
instead of:
yourbusinessofficial2026@gmail.com
Removing Old MX Records Without Checking:
If you already receive email through another provider, deleting old MX records too early can stop incoming emails.
Before making changes, take a screenshot or backup of your current DNS records.
Forgetting SPF, DKIM, and DMARC:
Your email may still work without all these records, but authentication helps protect your domain and can improve trust with receiving email services.
Creating an Overly Complicated Email Address:
Keep addresses short and clear. Customers should be able to remember and type your email without mistakes.
Letting Your Domain Expire:
Your business email depends on your domain. If the domain expires, your website and email can stop working.
Enable auto-renewal and keep your domain account email address up to date.
Can You Use Business Email Without Web Hosting?
Yes. You can use a business email without web hosting.
A live website is optional. You can buy a domain and connect it directly to an email provider. However, if your hosting package includes email, it may be more convenient and affordable to manage both services in one place.
The simple difference is:
Domain: Your online name, such as yourbusiness.com.
Website hosting: Stores your website files.
Email hosting: Stores and delivers your email.
You need a domain and email hosting for professional email. You only need website hosting if you also want a website.